| ✨Hey there! This post may contain affiliate links, meaning we earn a commission if you make a purchase through our links, at no cost to you. Please read our disclosures for more info. |
Aromatherapy practice has been mainstream for over a decade, and there are millions of people enjoying this type of therapy almost on a daily basis.
In addition to promoting a pleasant and aromatic environment, many essential oils are also believed to have healing properties, which can help treat specific conditions and mild ailments. One of the major drawbacks of essential oils can be the price of forming a collection.
Customers often end up paying over $30 for a small collection of bottles for high-quality essential oil. If you want to expand on your aromatherapy options, you can easily end up with a bill in the hundreds of dollars. So, what is the workaround in this case?
Making your own essential oil.
How to Make an Essential Oil?
There are several methods to prepare essential oils in your home, but the easiest and most popular method involves using an essential oil distiller.
Using Steam Distillation
However, using a distiller is not cheap either – but the price tag could be justified considering that they can last you for many years. A distiller works by using the steam distillation method, where hot water vapor pulls the plant matter oils out and carries it up and out towards a container of purified water and essential oil. The essential oils must then be filtered and stored in an amber bottle to preserve its’ shelf life.
DIY with a Kettle Distiller
Using a Kettle Distiller uses the steam distillation method, and is a great way to make small batches of essential oil for personal use. Kettle Distillers come with ready to use with food-grade materials that keep the steam or hydro distillation process safe and sanitary.
Similar to any steam distillation method, cool water, and organic material should be added to the basin where heat will be applied, after some time the oils from plant materials will be extracted towards the condenser coil and into a separate container.
DIY with Regular Kitchen Equipment
Thankfully, there is a workaround for this as well – using a DIY essential oil distiller.
Believe it or not, a do-it-yourself (DIY) essential oil distiller is not that difficult to set up. In fact, there are plenty of guides on how to make an essential oil distiller from kitchen equipment. Yes, you heard that right – basic kitchen equipment can be used to start making your own oils.
You can take any pot you use to boil water, preferably a stainless steel pot with a lid. Securely attach a PVC food-grade plastic tube or copper tube to the hole on the lid, and just boil water and plant material, slowly collect your water vapor and the oils from plants of your choice, and voila you’ve got your essential oil.
Using proper steam distillation equipment will help produce the right amount of oil content herbs can produce.
Cold Pressed Oils
Cold-pressed oils are generally made at the commercial level with high-grade commercial equipment. This method is more popularly used with oils that produce less fragrant, non-volatile products.
How to Make an Essential Oil Distiller from Kitchen Equipment?
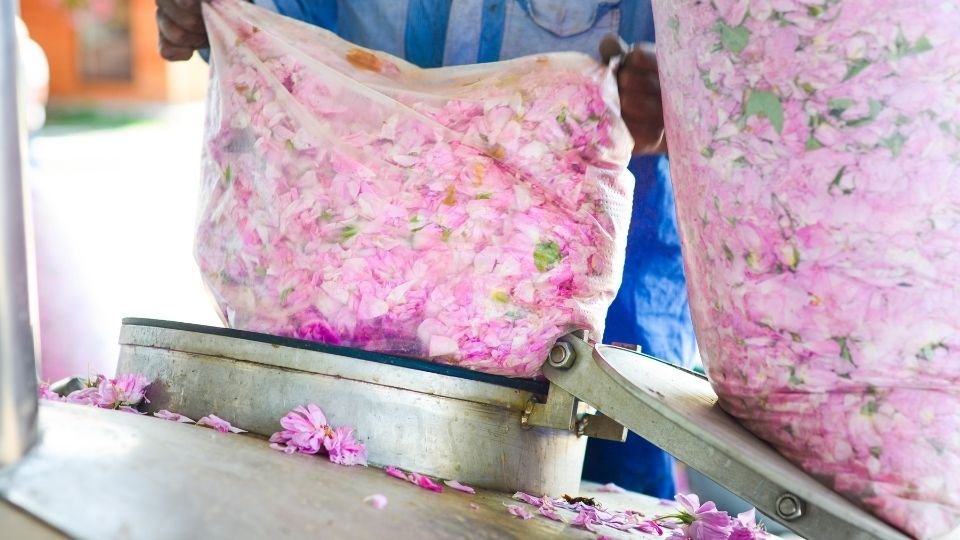
The process of making essential oil includes picking out fresh plants and processing it through steam distillation to obtain the essential oil essence.
As mentioned above, buying one of the ready-to-use distillation apparatus kits can cost you hundreds of dollars, so using kitchen equipment may be a better route to take, especially for novice distiller enthusiasts.
Similar to the product shown above you can use a steaming stainless steel pot to capture water vapor and aromatic oil particles (like the one shown below).
You will want to use a food-grade condenser for condensation, like this one:
and connect the steamer pot to the condenser with a PVC food grade tube like this one with the following attachment
Keep in mind that different guides on how to make an essential oil distiller from kitchen equipment may give you different advice. This guide above is just recommendations on how you can start your distillation journey.
The safest and best route to take is to go with an inexpensive distillation option like by using stainless steel distillation pots, or by using a distiller made with durable copper material.
But what is the difference?
Copper Distiller Benefits and Options
Essential oil distillers that are made from copper are great heat conductors, enabling them to heat up easier, as well as to maintain these temperatures for longer. Copper Essential oil distillers are also better at removing sulfur compounds. However, there are more difficult to clean and maintain, and also come at a higher price.
This copper distiller can be used to make essential oils, wine, alcohol, and other steam-distilled products (fragrant water, and distilled water). It uses the application of heat to create steam which pulls the volatile oil compounds from the organic material pulls them out into the cooled copper coils which solidify the water vapor back into liquid form. It is made from beautiful and durable copper material adding an aesthetic to any essential oil kitchen setup.
Food-Grade Stainless Steel
Essential oil stainless steel distillers are more common and cheaper. They do not hold heat that well, so more power will be needed to start and finish the process. However, they tend to be much cheaper and easier to maintain compared to copper.
This model comes with food-grade 304 stainless steel, boasts a large chamber for purification and distillation, can be used with most heating elements, and can be used for plenty of other types of product distillation.
What Materials to Use for DIY Essential Oil Distillation
It is up to you to decide what materials you will use. Here is what you will need:
- The base of your distiller setup should be a basic pot with enough depth to add about a liter of water (approx. 33 oz) minimum. This is where the boiling water and plant materials will go.
- A steamer insert.
- A liter of herbs and branches for distillation.
- A heat-resistant cup that serves as a collector.
- Lid for your basic pot that will serve as a condenser.
In the end, the setup of your DIY steam essential oil distiller should run like this:
- The pot is filled with cold water and your raw materials.
- The herbs should be placed on the steamer insert – make sure that it is not too tightly packed.
- Top it off with the lid.
- Put the condensation collection dish beside the steamer.
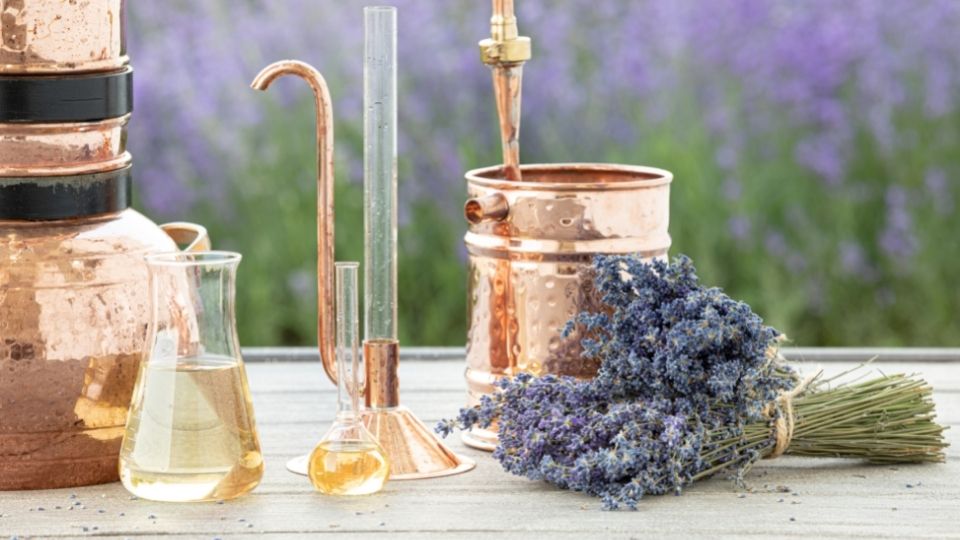
The Essential Oil Distillation Process – DIY Version
You want to boil the water steadily, without exposing the plant material to too much heat. Generally, water will evaporate into steam at the temperature of 100 degrees Celcius (212-degree Fahrenheit). This will ensure that the plant material is not cooked too quickly.
Version 1 – Using a Tube to Condense Water Vapor
Water vapor will heat up and pull essential oils out into a tube that will drip the condensed water vapor into a cooled pot. You will be able to collect aromatic liquid like lavender water as well as the essential oil.
Version 2 – Using a Lid as a Condenser
All the steam combined with essential oils will stick to the lid (our make-shift condenser in this case), and then drip off in the collector you put inside the steam insert. If you do not have a steam insert, you can skip it, but you will need to find a way to elevate the collector dish above water and plant material.
Keep in mind that there are also other types of DIY essential oil distillers. However, the steam essential oil distiller is undoubtedly the fastest and most efficient way to get your home distilling operation going. Of course, do not hesitate to explore alternative instructions on how to make an essential oil distiller at home.
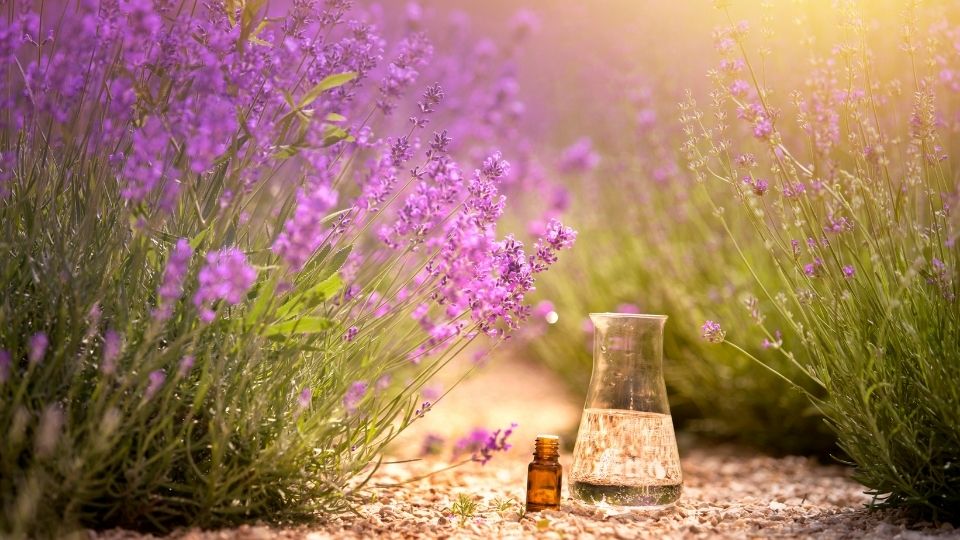
Other Helpful Tips on How to Make Essential Oil at Home
Distilling essential oil is really the easier part of the challenge. Preparing your materials is typically the trickier part.
If you are planning to harvest plant materials on your own, then we advise you to carefully research the exact type of plant you are planning to harvest. The quality of your essential oil depends on this – some plants have an ideal season to be harvested in, and you should also make sure to extract the right parts of them (e.g. flower, branch, root, blub).
After the harvest is complete, you might want to consider drying the material. While this could reduce the oil that these plants carry, it will allow you to fit more plant material in your steam essential oil distiller. In return, this will increase the yield of each batch.
Make sure to deep clean your home distiller after each batch. Store the oil as soon as possible after you are done extracting it. It is best to use glass containers with a slight tint to negate the effect of light oxidation. Also, make sure to use airtight containers, and leave as little headroom as possible. Last but not least, store these in a dry and cool spot.


